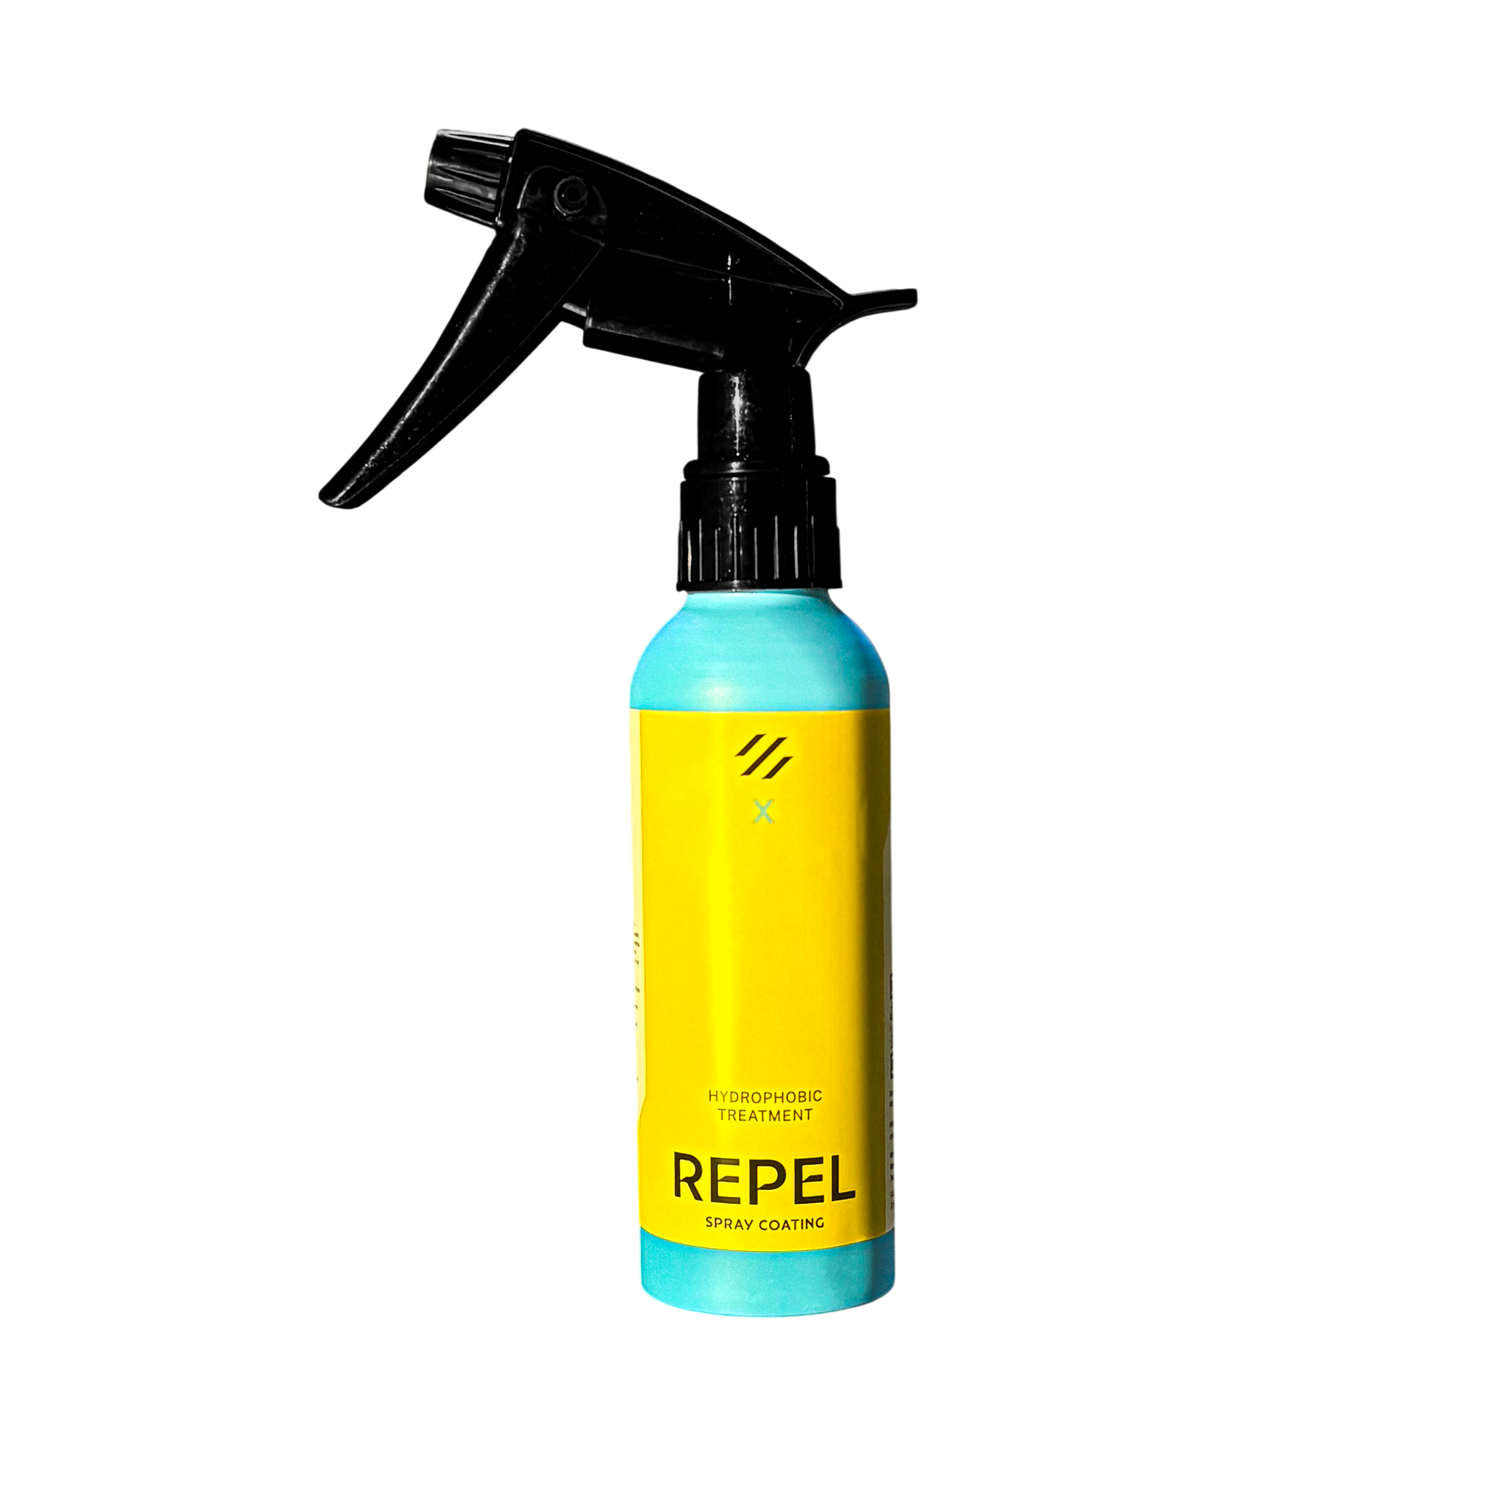
Application Tips
•Shake the bottle for at least 1 minute prior to usage.
•For first time users, create 2 test spots 30cm x 30cm
each. On one spot, allow product to dwell 5 minutes
before wiping. On another, allow product to dwell 15
minutes before wiping. This will help ascertain dwell
time relative to the application environment.
Working Area
•Minimise levels of dust, moisture, heat and environment
contaminants for maximum bonding effectiveness.
•Have sufficient lighting for better visibility of both top
facing surfaces and side facing surfaces. Combination
of warm (below 3000K) and cool lighting (above 4000K)
will help with a proper installation.
•Have appropriate ventilation systems to avoid inhaling of
vapours/gas
•No open flames, lighted cigarettes, running ovens or
heating devices (blow torches, heat guns etc.)
•Optimal surface temperature 19-30°C.
•Optimal ambient temperature 21-32°C.
•Optimal humidity 70%.
•Do not apply on heated or wet surface.
Application Process:
1. Make all necessary preparation
like compounding, polishing,
claying, decontamination,
washing and cleaning before
application process.
2. Utilise Artdeshine Prep
or Artdeshine X – Strip to
remove oil, fillers and polishing
compounds.
3. IF SURFACE IS FABRIC:
Spray product 4-5 times directly
on surface, wait 5 to 15 minutes
maximum and spread with
T3 MF towel included.
4. IF SURFACE IS NOT FABRIC:
Spray product 4-5 times on T3
MF Towel included. (Artdeshine
T2 MF Towel can also be used).
(Continue following steps for
NON-FABRIC)
5. Apply onto surface no larger
than 1.0m x 1.0m (4-5 sprays) in
circular motion for even coverage.
6. Applied product should look
like spreading liquid glue, not
dripping wet.
7. Product will turn slightly cloudy after 15-20 seconds,
depending on ambient temperatures and/or humidity,
allow product to dwell according to table below
8. Wipe off excess with Artdeshine
T2 or T3 MF Towel. (grabby
feeling is normal for this step)
9. Using another clean and dry
T2 or T3 MF towel, buff off all
residue, hazing, high-spots and
smears in circular motion.
10. Check for any remaining
high-spots, smearing, uneven
colour tones and streaking.
11. Ensure surface is clear with no residue.
12. Repeat step all steps for adjacent
areas. Take extra care at edges
where applied and un-applied
surfaces meet. Always apply and
buff over the edges to ensure
smooth joining.
Last resort removal 1 hour after application can be done with
Artdeshine Prep or IPA.
After surface dry (refer to Curing Table in Section 3), any issues
will have to be resolved by removal of the coating and re-applying.
This can be done with a polishing machine using fine pads and
compounds.